My Journey to making the perfect Red Velvet Cupcakes
The journey to perfecting my famous red velvet cupcakes spans over a decade, a timeline marked by both failures and triumphs that sparked my love for baking. What initially started as a simple desire to bake for family gatherings quickly grew into a profound quest for the ultimate red velvet cupcake recipe.
In the early years, my attempts were riddled with challenges. My first few batches turned out overly dry or too dense, lacking the moist, tender crumb that one associates with high-quality cupcakes. Each setback served as a valuable lesson; I learned about ingredient proportions, the importance of precise measurements, and the role of each component in the baking process. With each attempt, I adjusted my techniques, trying various methods to enhance flavour and texture.
Essential Baking Tips for Red Velvet Cupcake Success
Achieving the perfect red velvet cupcakes requires attention to detail and an understanding of essential baking techniques. One of the most critical factors is the use of room-temperature ingredients. When the cream cheese and butter are at room temperature, they blend more effectively, resulting in a smoother batter. This uniformity is essential for creating the light, fluffy texture that is characteristic of high-quality cupcakes. To prepare ingredients properly, take them out of the refrigerator at least 30 minutes before you plan to mix your batter. This simple tip can significantly enhance the final product.
I sometimes zap the butter in the microwave for 20 seconds until its soft but has not melted to a liquid consistency.
I’ve found the creaming method to be vital to the recipe! This technique involves beating the butter and sugar together until the mixture becomes light and fluffy. It is during this process that air is incorporated, allowing the cupcakes to rise beautifully while baking. For best results, use a stand mixer or a hand mixer set to medium speed to achieve the desired consistency without over beating. This is definitely something I learnt the hard way, I thought incorporating more air would have lead to a fluffier cupcake. Which is partially true because those cupcakes were delicious when they came out of the oven however once I put them in the fridge after frosting them they became dense, so I would advise against over beating the mixture.

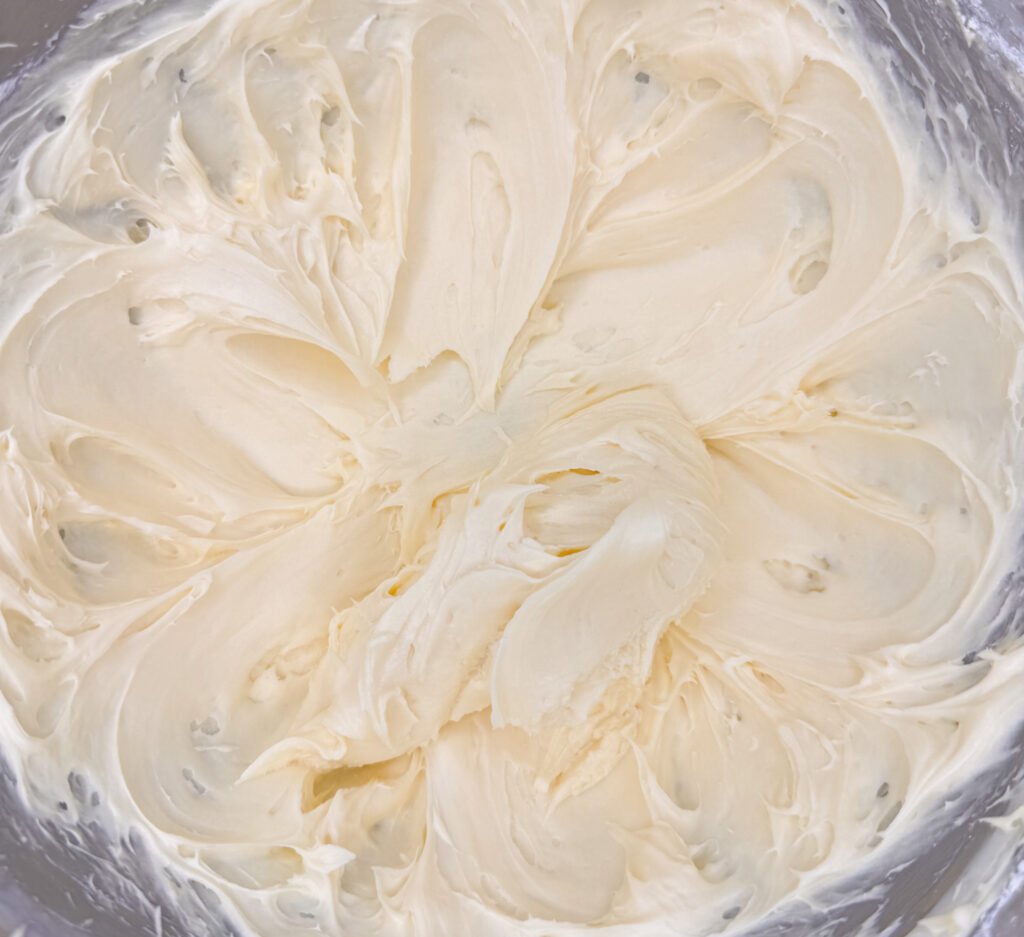
This is an image of the butter and sugar creaming technique. You can see the consistency looks smooth and spreadable. Once you incorporate the eggs, the mixture will go a bit grainy in texture don’t panic thats normal.
Do I need to put red food dye in Red Velvet Cupcakes?
Okay so the easy answer is no. I don’t add Red Food dye in my cupcakes any more since I found out my daughter has a reaction to food colourings. I try and avoid artificial colours in my recipes for this reason. Now as the name suggests it is a Red Velvet cupcake but leaving the red coloring out doesn’t impact the taste at all. The cupcakes still taste just as good without food dye and the kids love them just as much.
When I bake for occasions if I do still add the colouring, though you’ll notice my recipe doesn’t require a lot of it. I find the slight red colouring combined with the cocoa gives a nice chocolate layer on the outside and a red velvet colour on the inside.
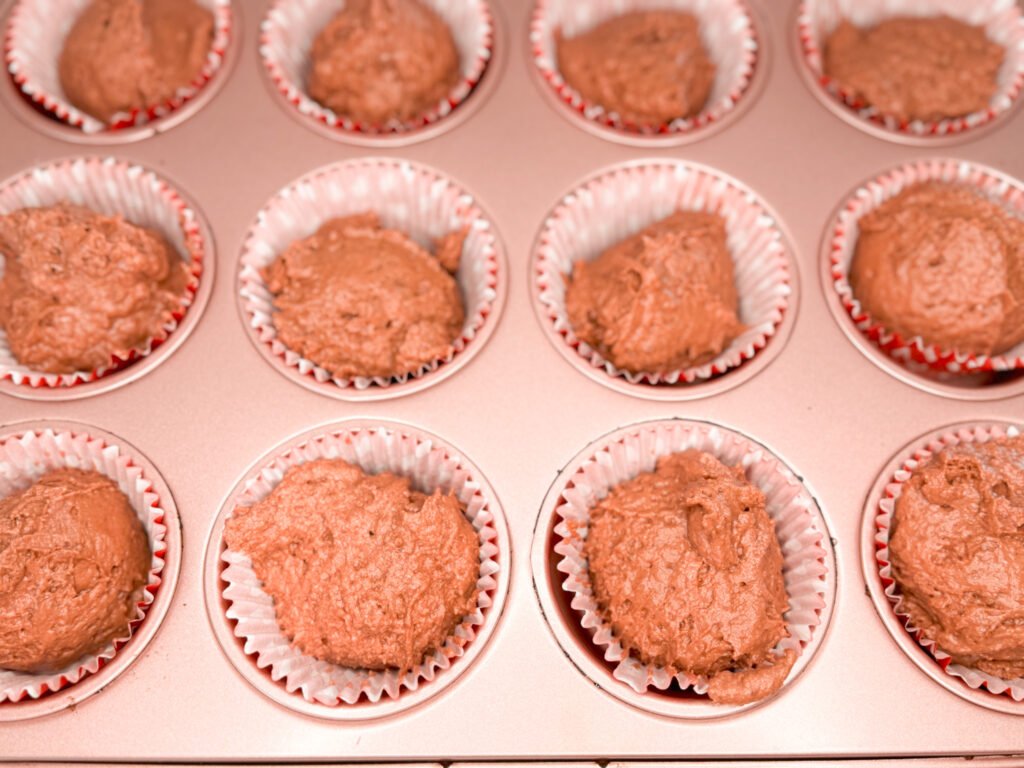
BELOW: Image of red velvet cupcakes before they go in the oven.

How to store Cream Cheese Icing?
After preparing your frosting, consider how best to store it. If you plan to use it later, transfer the icing into an airtight container and refrigerate it for up to a week. For long-term storage, cream cheese frosting can also be frozen for up to 2 months. When ready to use, allow the frosting to thaw in the refrigerator overnight, and re-whip it to restore its creamy consistency before applying it to your cupcakes.
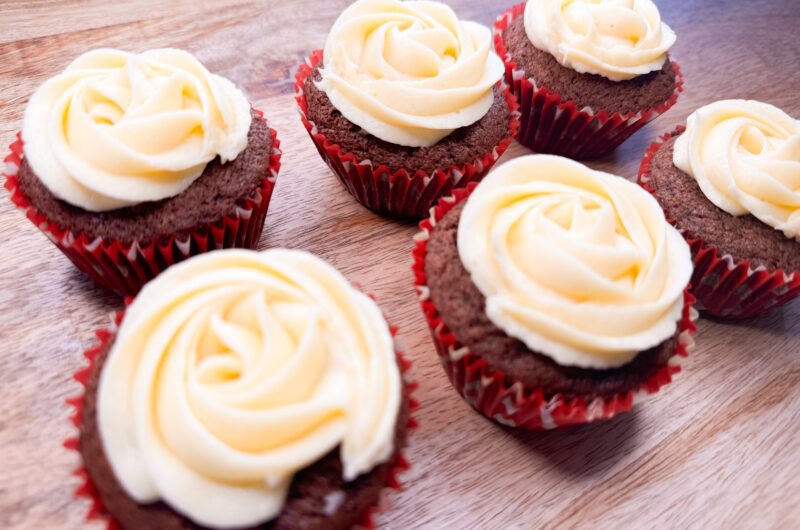
Timing is crucial when frosting your red velvet cupcakes. Ensure that the cupcakes have cooled completely before icing; this step prevents the frosting from melting and ensures a beautiful finish. The first time I made these I was in a hurry and I didn’t let them cool completely before icing them and the piped icing didn’t hold it’s shape and just turned into a messy blob.
If you don’t have the time or energy to pipe the frosting then just spoon it on, it’ll taste just as good I promise!
STORING THE CUPCAKES
When your done frosting the cupcakes, store in the fridge for 4-5 days. Trust me these get eaten well before the 5th day!
When your ready to serve get them out 30-60 minutes before serving to allow them to get to room temperature.
My Famous Red Velvet Cupcakes
Course: DessertCuisine: AmericanDifficulty: Medium14
servings30
minutes25
minutes255
kcalI hope you love these Red Velvet cupcakes! This recipe is very close to my heart and undoubtedly one of the most delicious cupcake recipes i’ve had. They never last long but are a well earned treat. ENJOY.
Ingredients
BASE
210g Plain Flour
210g caster sugar
1 ½ tsp bicarb soda
3 tsp cocoa powder
175g butter, softened
1 egg + 1 egg white
180ml buttermilkFROSTING
250g cream cheese, room temp
130g unsalted butter, soft
2 cups Icing sugar
Directions
- Preheat oven to 180C
- In a stand mixer with the flat beater attachment, add butter and beat for 20 seconds then add the caster sugar gradually increasing the speed to medium. Beat on medium until the mixture looks pale in colour around 2 minutes. Make sure to scrape the bottom and the attachment half way through to get the mixture off the sides.
- Add the eggs and mix on slow, gradually increasing the speed to medium for around 1 minute until the eggs are well incorporated.
- In a separate bowl sift the plain flour, bicarb soda and cocoa powder and mix well with a fork or whisk.
- Beat in half the flour mixture gradually increasing the speed to medium once its incorporated with the wet ingredients for 1 minute. Scrape the attachment and the bottom of the bowl to ensure the mixture is well incorporated.
- Add the buttermilk, vanilla essence and the red food dye and mix slowly to begin with then increase the speed.
- Remove from the stand mixer and fold in the rest of the flour mixture into the wet batter.
- Line muffin trays and scoop the batter into the cupcake moulds, roughly below the tray line. I use a ice cream scoop to evenly measure them. Bake for 20 minutes
- CREAM CHEESE FROSTING
- While the cupcakes are cooking, add the cream cheese and beat with the flat beater attachment, on medium. (make sure there are no lumps).
- Add the butter and beat until well blended. Scrape the bottom and mix again.
- Add the icing sugar and start by slowly mixing and then gradually increase the speed until well combined.
- ASSEMBLE
- Make sure the cupcakes are completely cool before you put the icing on.
- You can pipe the icing on the cupcakes or spoon it on.
Notes
- Cupcakes keep for 4-5 days in the fridge. Let them sit at room temp for 30 minutes before serving.
- You can keep the icing in the fridge while you wait for the cupcakes to cool or make it the day before. Take the Icing out up to 30-45 minutes before you wish to pipe it.


